Blush Placement Guide – Where to Apply Blush for Your Face Shape to Look Lifted & Sculpted
Blush can completely transform your face, but only if you apply it in the right place. The right blush placement enhances your features, lifts your face, and creates balance without looking heavy or overdone.
In this blush placement guide, you’ll learn exactly where to apply blush based on your face shape and the look you want to achieve.
Why Blush Placement Matters
Blush placement is just as important as the shade you choose. Applying blush in the wrong area can make your face look droopy or unbalanced, while the right placement can:
- Lift your cheekbones
- Define your face shape
- Add a natural glow
- Make your makeup look polished
Small changes in placement can make a big difference.
Blush Placement for Different Face Shapes
Round Face
If you have a round face, your goal is to create definition and length.
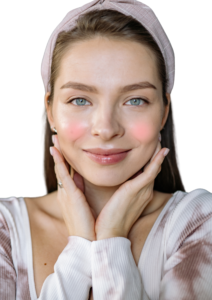
Apply blush slightly above the apples of your cheeks and blend upwards toward your temples.
Avoid: placing blush directly in the center of your cheeks
Why: it makes your face look rounder
Oval Face
Oval faces are naturally balanced, so you don’t need to change much.
Apply blush on the apples of your cheeks and blend slightly outward.
Result: enhances your natural structure without over-contouring
Do not apply blush too down low. It is very easy to go from pretty to “Clown-ish (trust me, been there done that)

Square face
Square faces have strong angles, especially around the jawline.
👉 Apply blush in soft circular motions on the apples of your cheeks and blend outward.
Goal: soften sharp features and add warmth
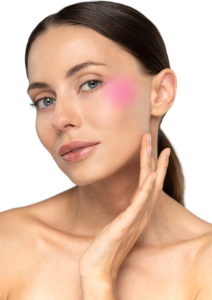
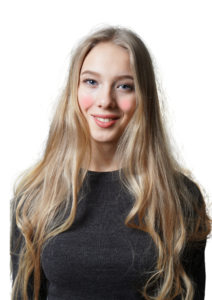
Again, it is important to note, do not blend downwards or inwards, otherwise you might end up looking like this:

Heart-Shaped Face
Heart-shaped faces are wider at the forehead and narrower at the chin.
👉 Apply blush slightly below the apples of your cheeks and blend outward.
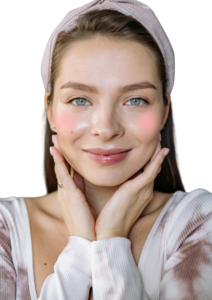
Why: balances proportions and softens the upper face
Do not do the following:
Long Face
If your face is longer, you want to create width.
Apply blush horizontally across your cheeks instead of blending upward.
Effect: makes your face appear shorter and more balanced

Do not do blend upwards
Different Blush Placement Styles
Blush placement isn’t just about face shape; it also depends on the look you want. There is no fixed formula, be creative, try out different stuff and see what works out for you. Makeup should be fun, therapeutic and relaxing. However, there are different sort of makeup looks such as natural, full glam etc that I will just brush over really quick.
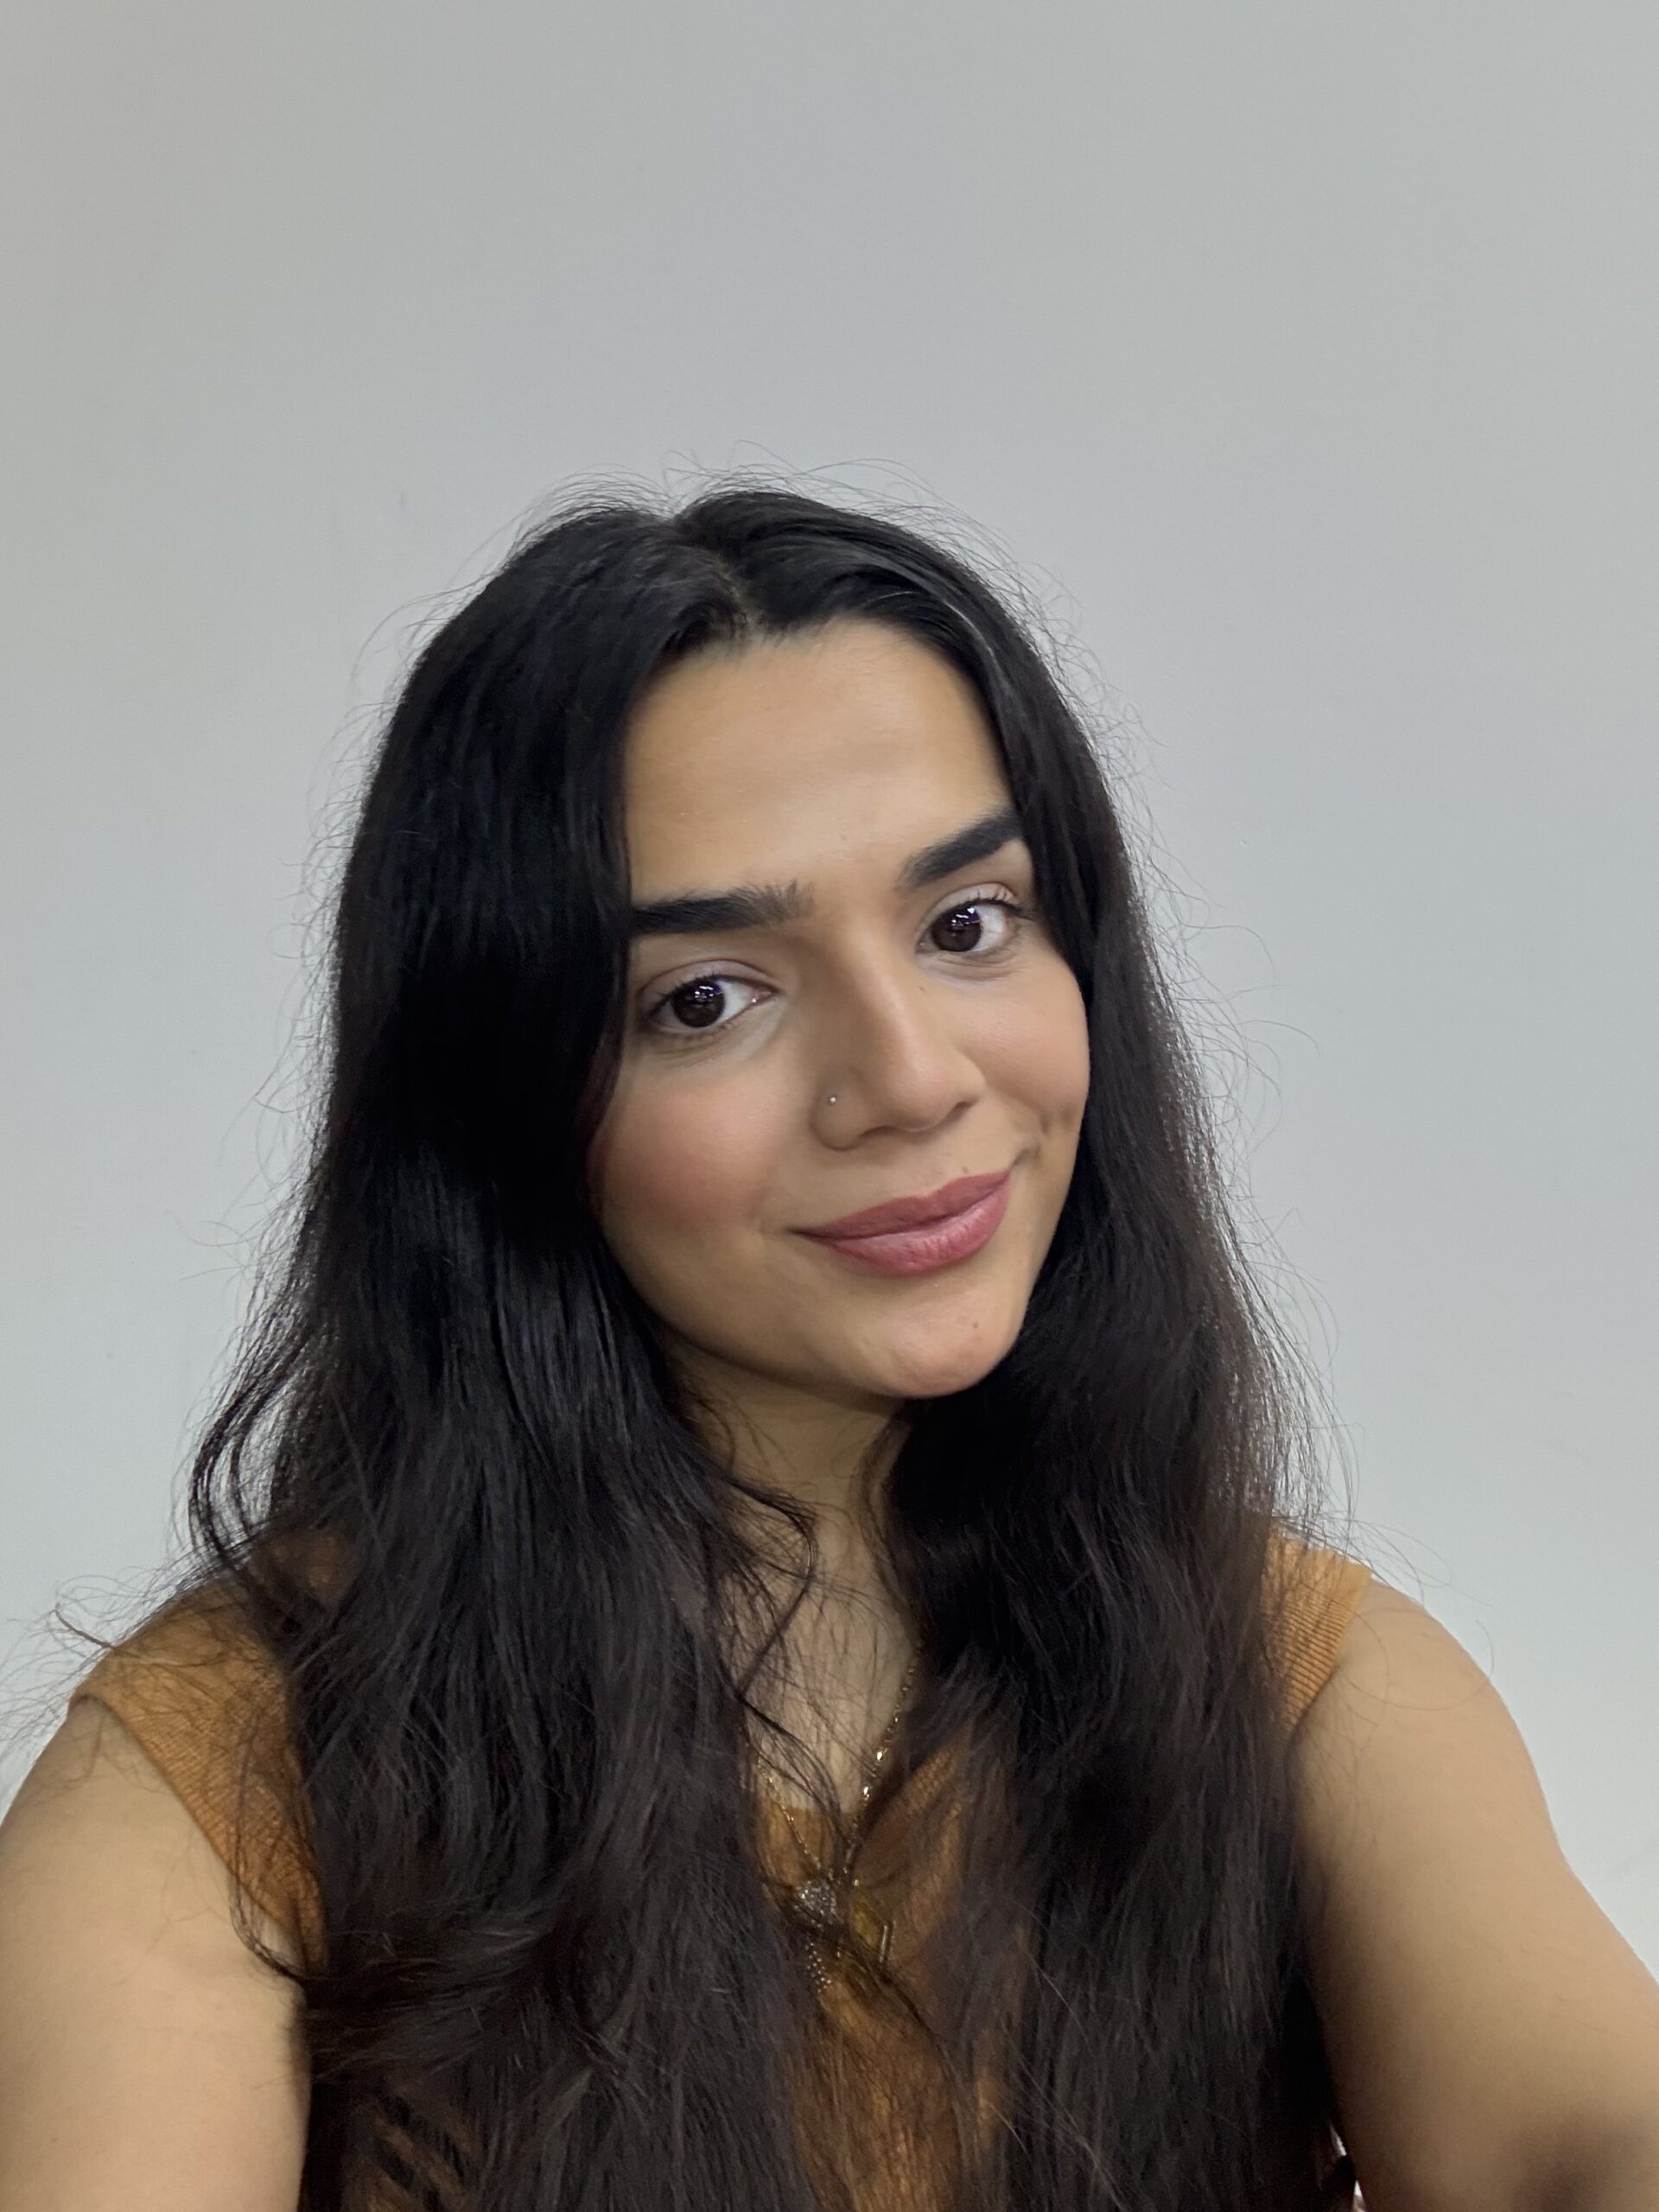
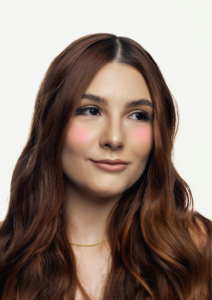
Natural Everyday Look

This is honestly the easiest and most foolproof way to wear blush.
Just lightly tap it onto the apples of your cheeks — nothing too heavy, nothing too precise. You don’t want it to look like you tried too hard.
It should just give you that soft, fresh look… like your skin naturally has a bit of colour to it.
Think:
- really subtle
- fresh
- effortless
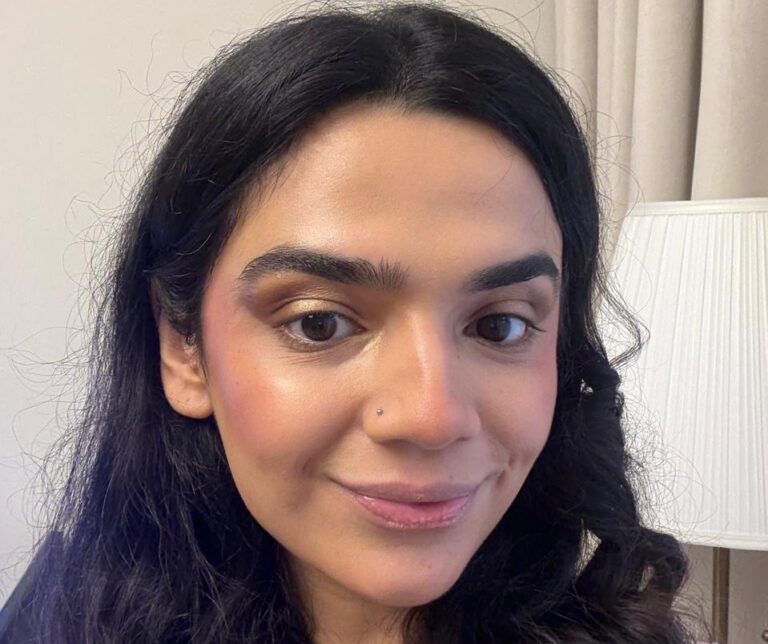
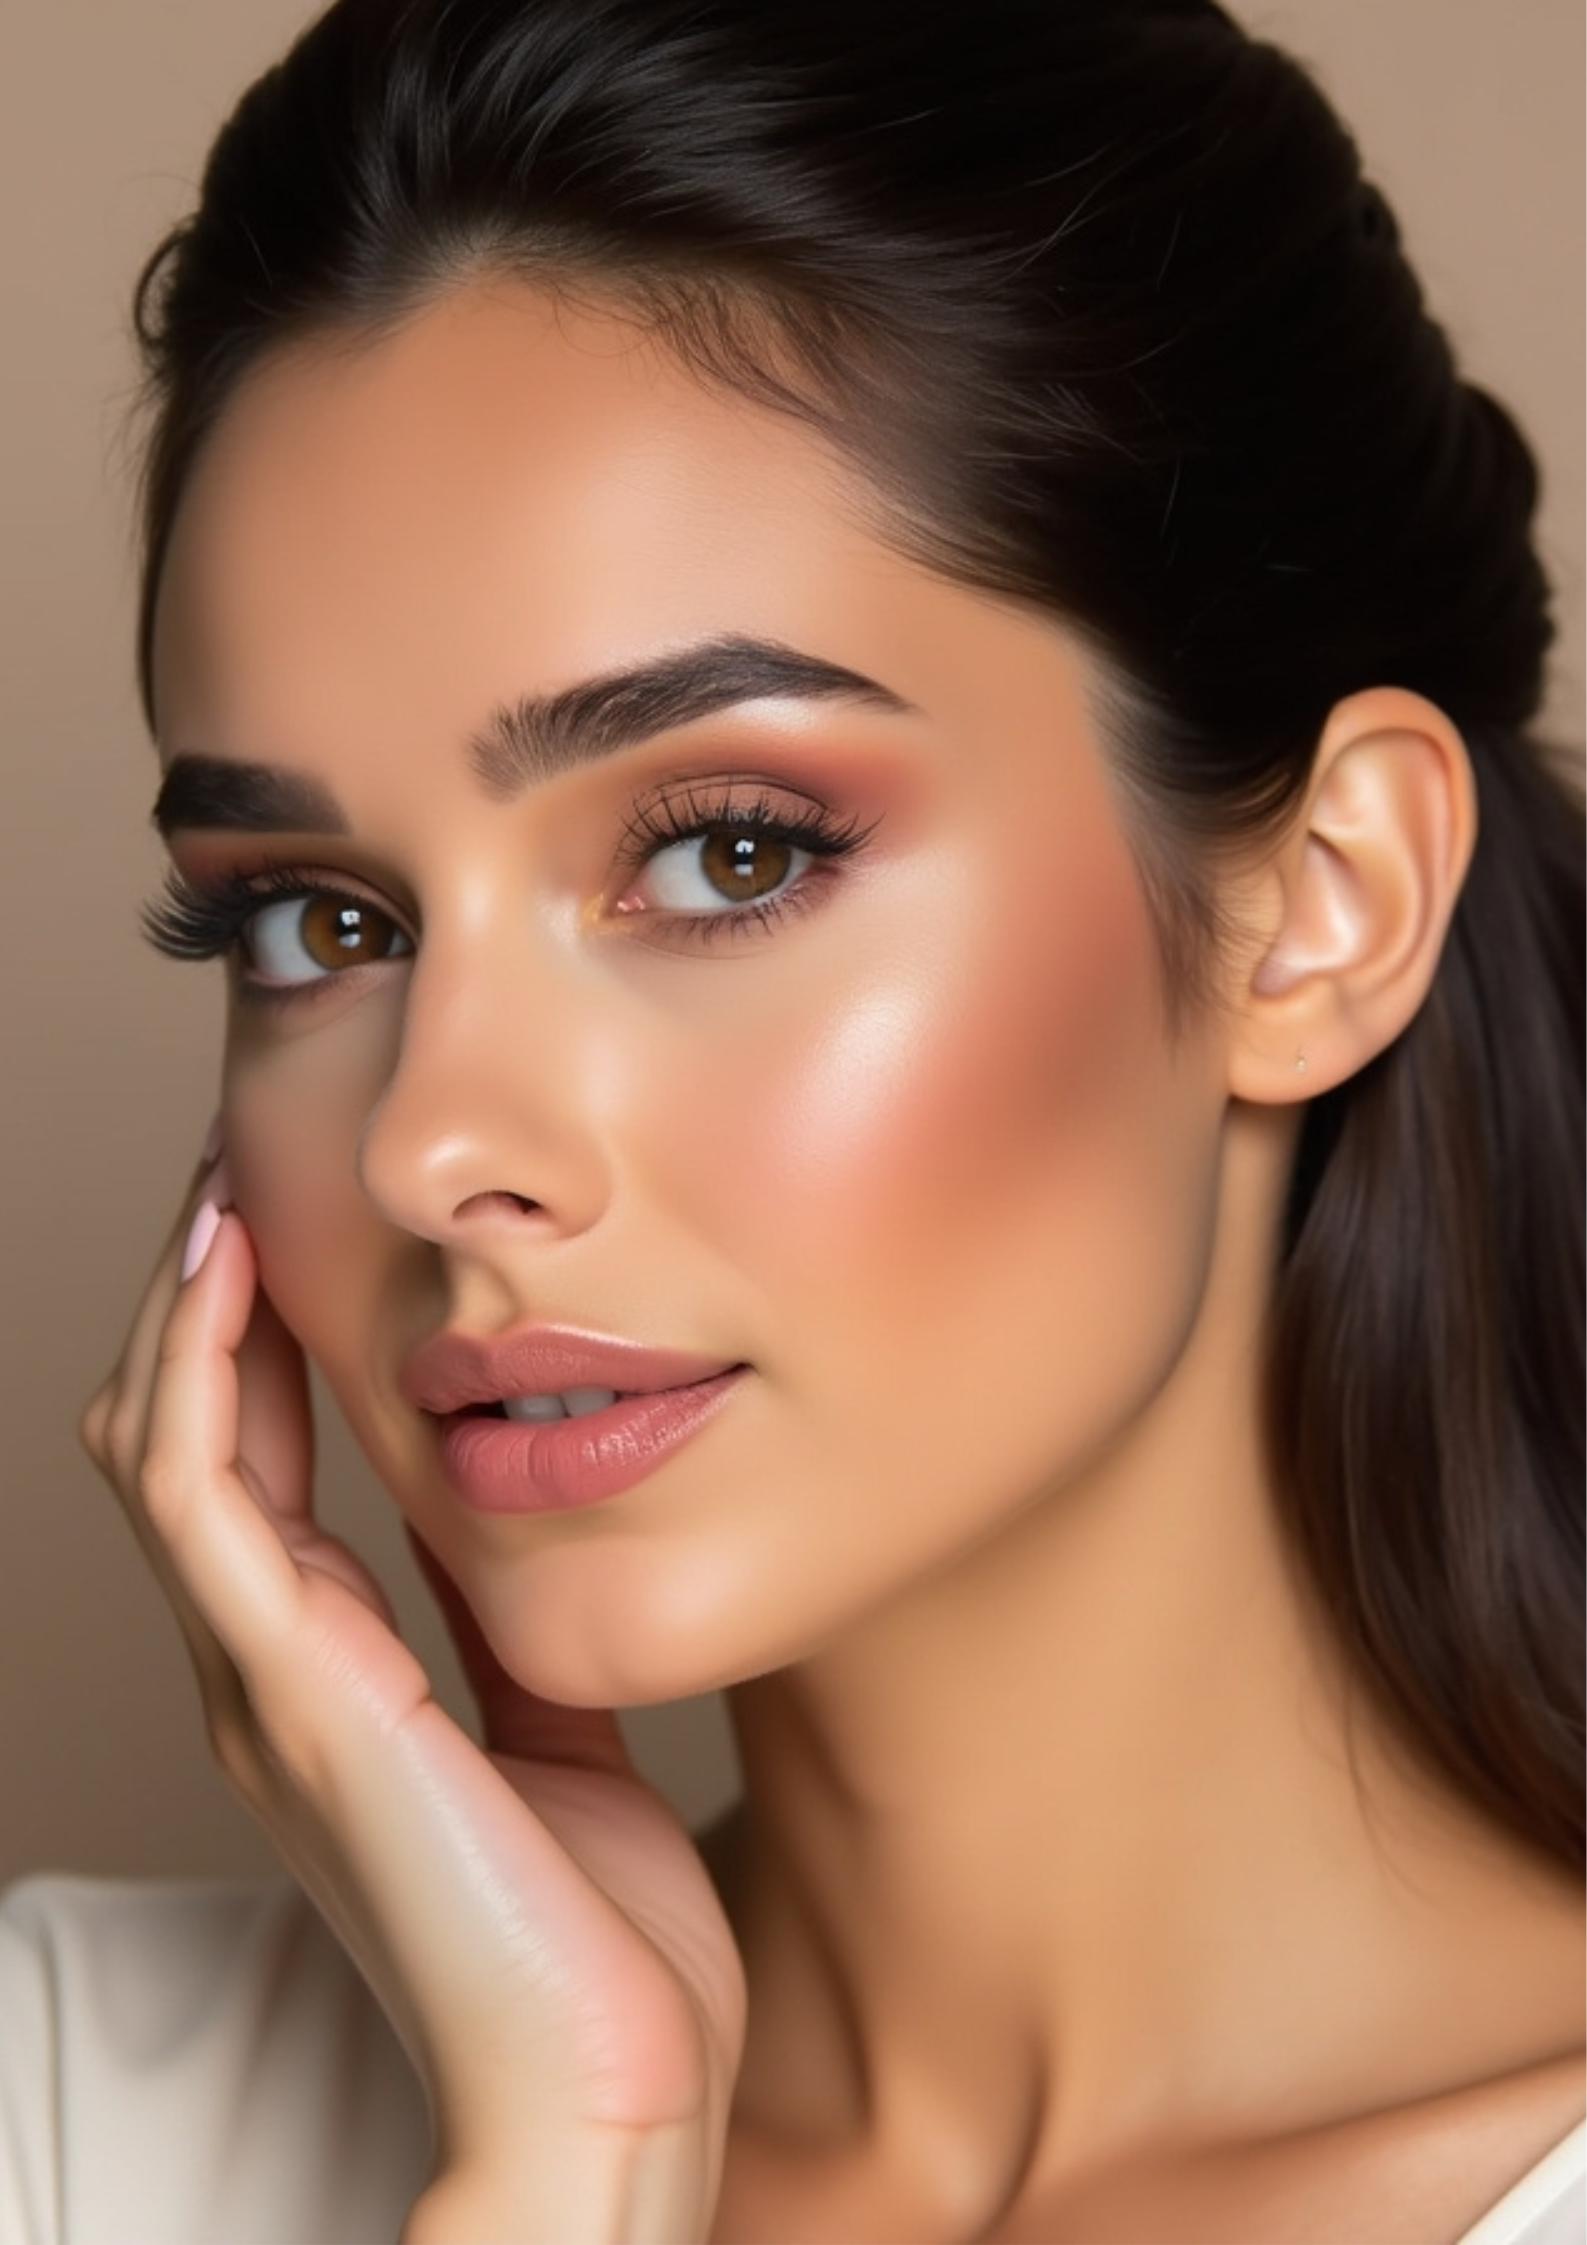
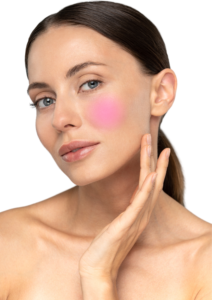
Lifted, Snatched Look

If you want your face to look more lifted, this is the one.
Instead of putting blush in the centre, you place it higher up on your cheekbones and blend it upwards towards your temples.
It basically gives that “snatched” effect without needing contour.
It makes your face look:
- more lifted
- more structured
- a bit sharper overall
This is also the placement you’ll see a lot in more modern makeup looks.
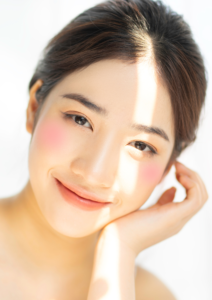
Sun-Kissed Look

This one’s meant to look like you’ve just been out in the sun.
You apply blush across your cheeks and lightly over your nose — almost like where you’d naturally catch a bit of sun.
It’s not supposed to be perfect at all.
It just gives you that:
- warm
- slightly flushed
- youthful glow
Super natural, super easy, and it looks really good with minimal makeup.
Common Blush Placement Mistakes
Avoid these if you want your makeup to look clean and polished:
- Applying blush too low → drags your face down
- Using too much product → looks heavy and unnatural
- Not blending properly → harsh lines
- Ignoring your face shape → imbalance
Always blend upward and build slowly.
Pro Tip: Match Placement with Undertone & Skin Type
Blush doesn’t just depend on placement.
If you’re unsure what suits you:
- Read your undertone guide
- Choose the right formula for your skin type
These factors completely change how blush looks on your skin.
Final Thoughts
Mastering blush placement is one of the easiest ways to elevate your makeup. With just a few adjustments, you can:
- Enhance your natural features
- Create a lifted look
- Make your makeup look more intentional
Once you understand where to apply blush, everything else becomes easier.
If you have any questions, feel free to email me at glamossary@gmail.com and I might just end up giving you the perfect tip to perfect your Blush routine!