How to Apply Foundation for Beginners: A Simple Step-by-Step Guide
How to apply foundation for beginners is one of the most common questions when starting makeup, and the key is using the right technique rather than more product. If your foundation ever looks patchy, too heavy, or just doesn’t sit right, it’s usually down to how it’s applied, not the product itself.
Before you begin, it’s important to make sure your foundation actually matches your skin. If it always looks slightly off, it’s worth learning how to find your foundation shade first, as the wrong undertone can affect the final result no matter how well you blend.
What You Need Before You Start
Before applying foundation, your skin needs to be properly prepared. This step is often overlooked, but it makes a huge difference in how your foundation looks and lasts throughout the day.
Start by prepping your skin properly. Clean, moisturised skin helps foundation apply smoothly and prevents it from clinging to dry areas. Healthy skin also plays a big role in how makeup sits, and the American Academy of Dermatology explains how proper skin care supports a more even, balanced appearance.
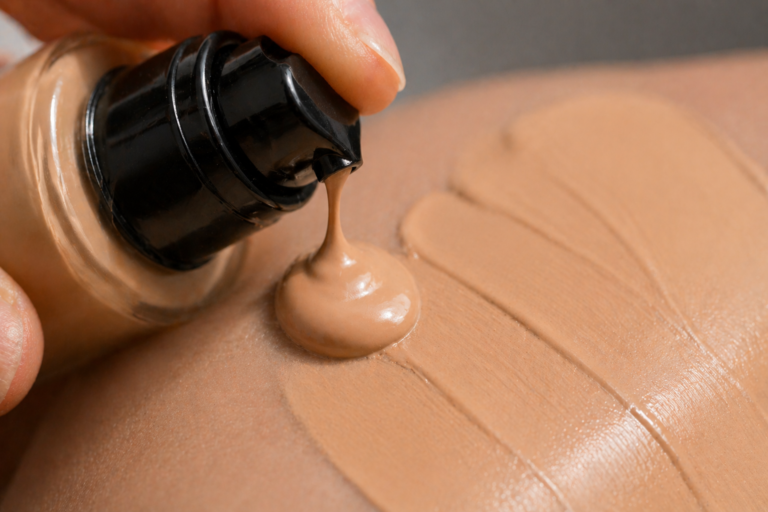
Step 1: Start with a Small Amount
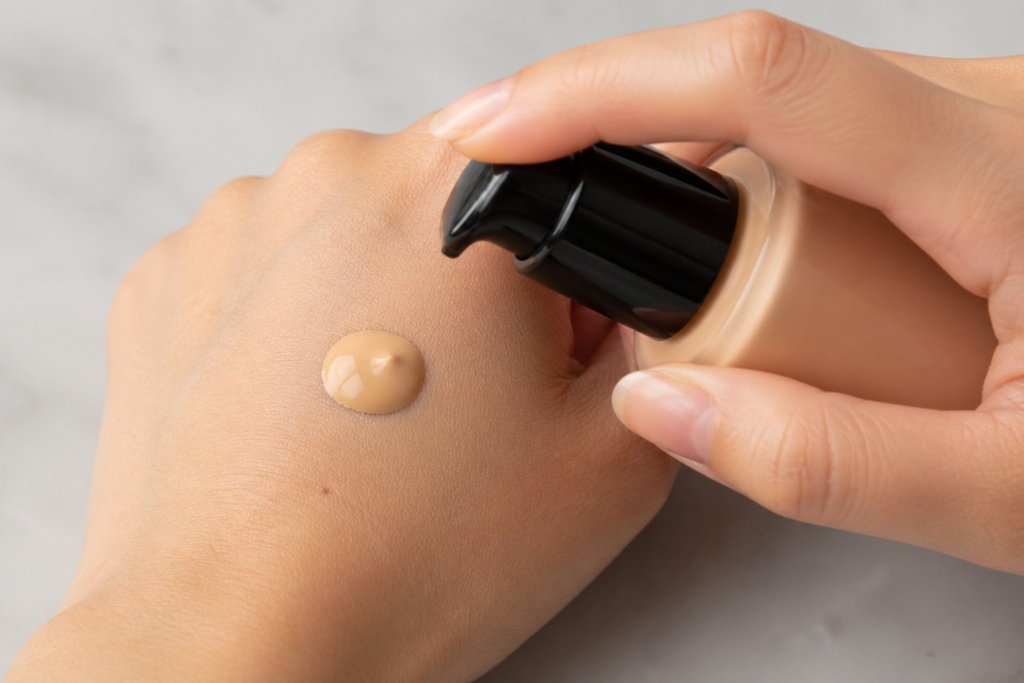
One of the most common beginner mistakes is using too much foundation.
Instead of applying a full layer straight away, start with a small amount. Put one pump of foundation on the back of your hand or a small try, then use a brush (dense and flat) to pick it up, focusing on areas like your cheeks, nose, and forehead where most people need more coverage. Starting small makes it much easier to control the final result and prevents your makeup from looking heavy.
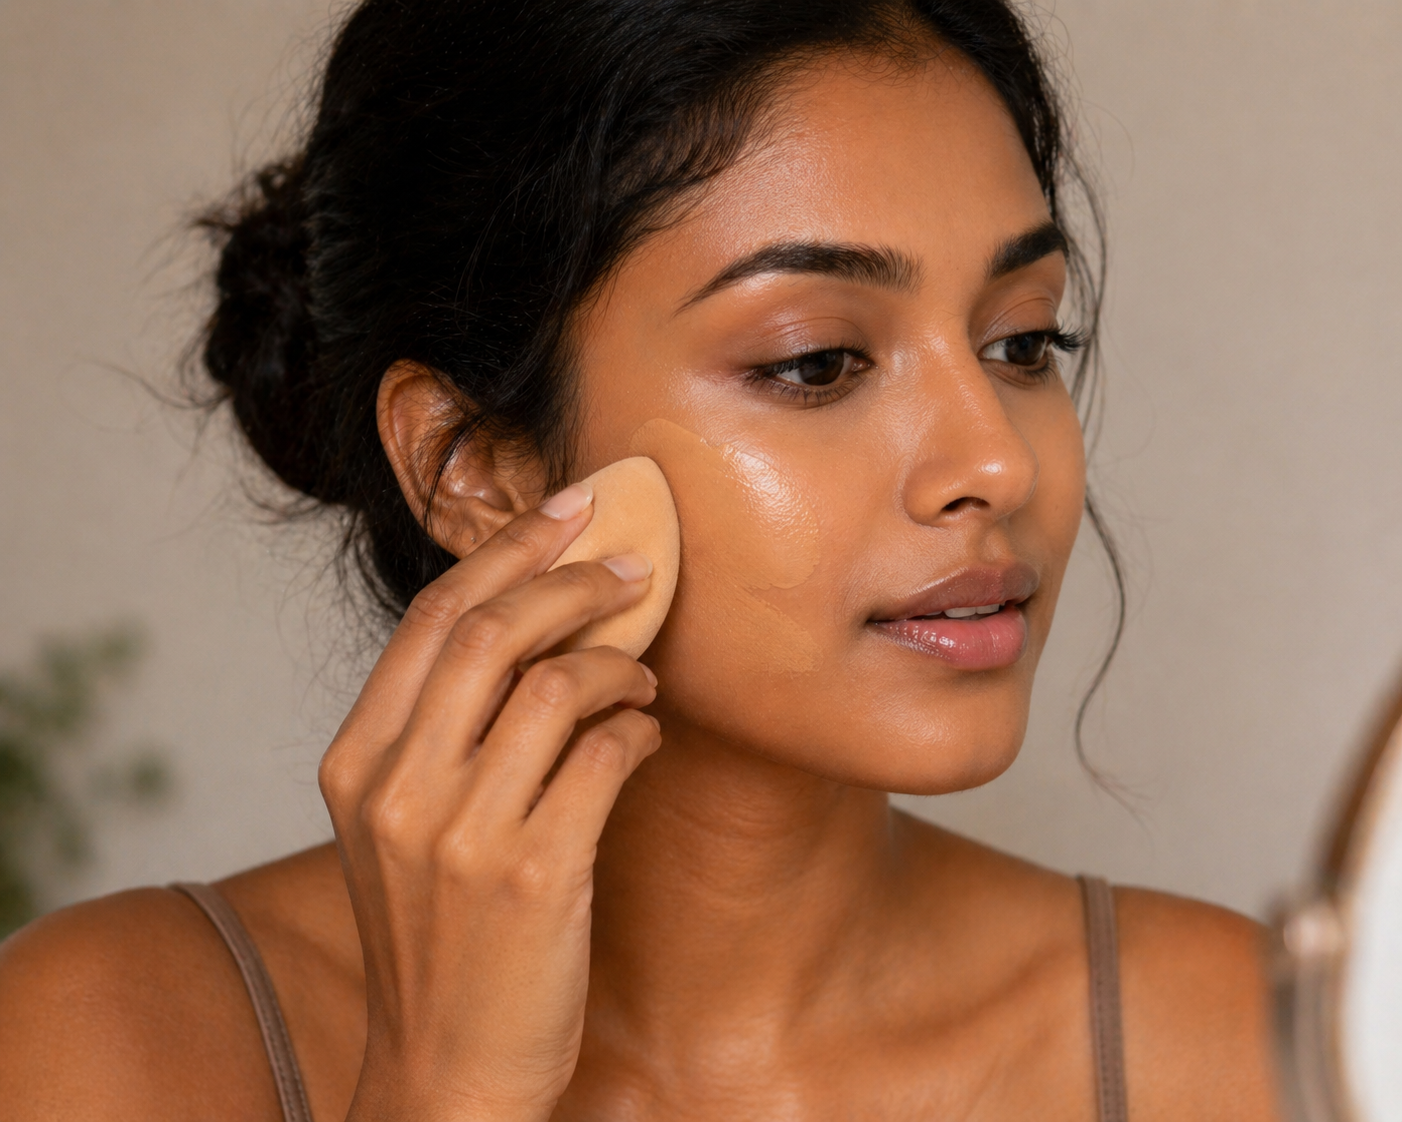
Step 2: Blend from the Centre Outwards
The way you blend your foundation matters just as much as how much you use.
Begin blending from the centre of your face and work outwards. This technique keeps coverage where you need it most while allowing the edges of your face to remain more natural. It also helps avoid harsh lines and uneven patches.
Take your time with this step. Rushing blending is one of the main reasons foundation looks streaky or patchy.
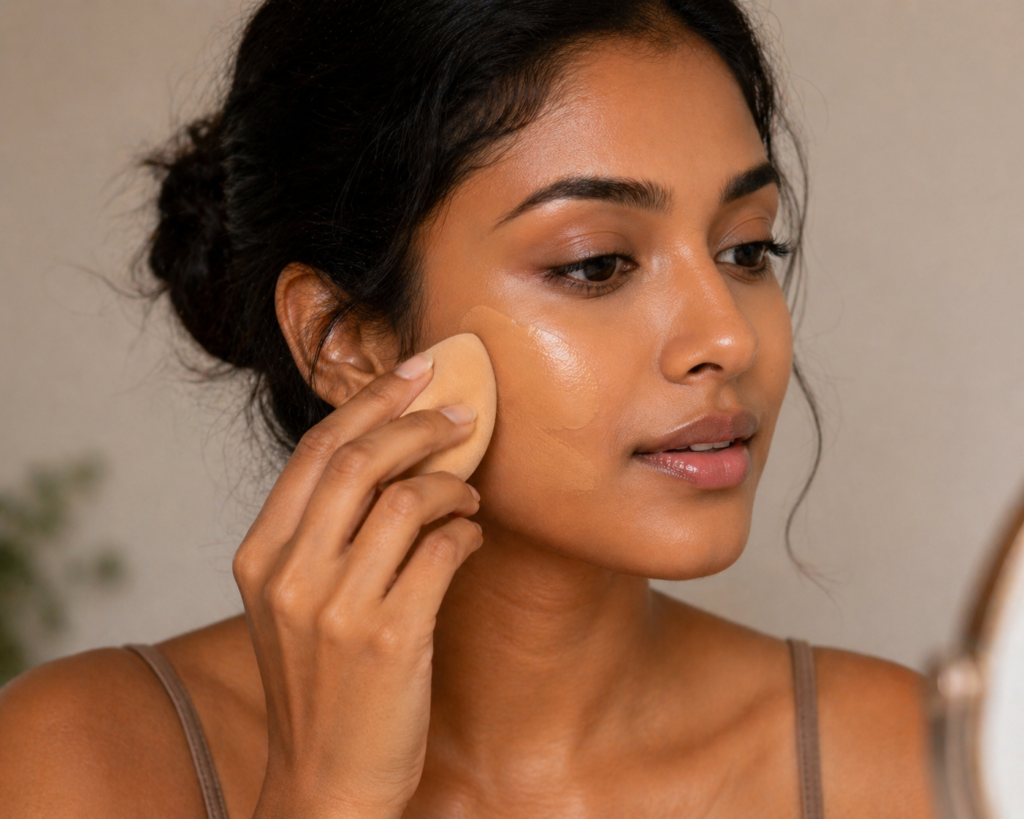
Step 3: Choose the Right Tool
There isn’t one “correct” tool for applying foundation, but each one gives a slightly different result.
A damp makeup sponge is usually the easiest option for beginners. It helps press the foundation into the skin, creating a natural, skin-like finish. A brush can give more coverage and is useful if you prefer a more polished look, while using your fingers works well for quick, light coverage and allows the product to melt into the skin.
Whichever tool you use, focus on blending rather than spreading the product across your face.
Step 4: Build Coverage Only Where Needed
Foundation doesn’t need to cover your entire face evenly.
Once your first layer is blended, take a moment to look at your skin. If you still need more coverage in certain areas, apply a small amount only to those spots and blend again. Building coverage gradually keeps your skin looking natural and prevents a thick, heavy finish.
Step 5: Blend Your Jawline and Neck
This is one of the most important steps, but it’s also one of the most commonly missed.
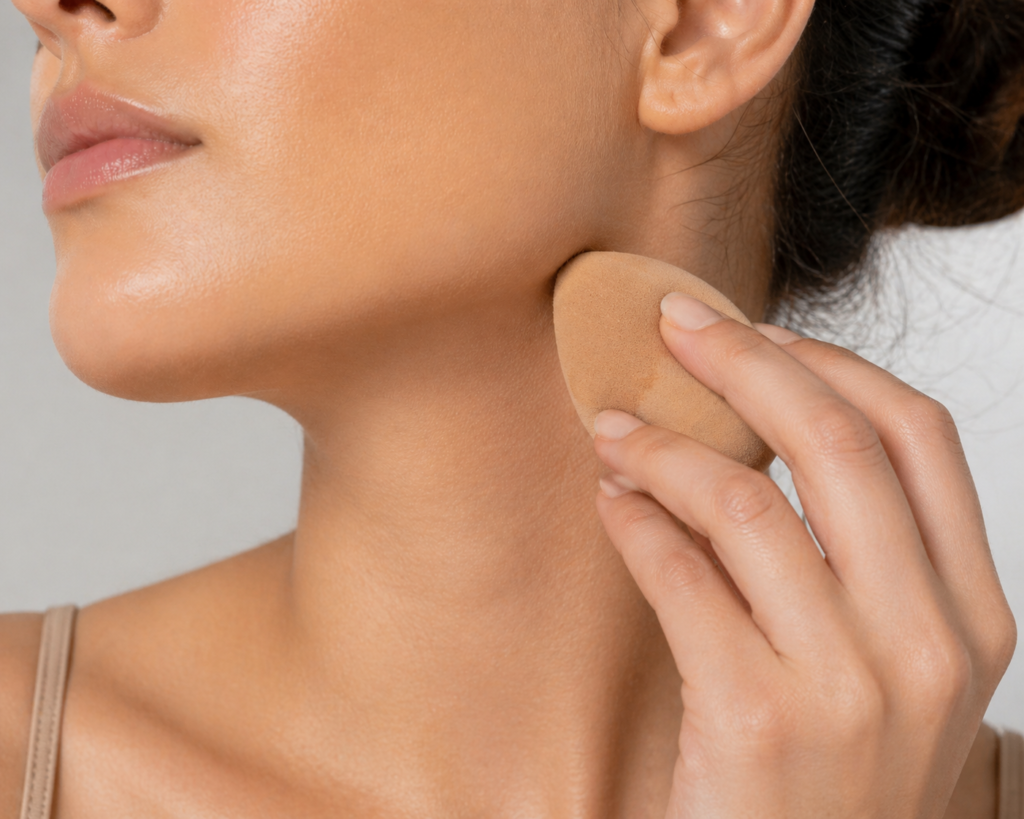
After blending your foundation, make sure there are no visible lines around your jawline. Lightly blending the product into your neck helps create a seamless transition between your face and the rest of your skin. This avoids the “mask effect,” where your face and neck appear to be different shades.
Step 6: Let It Set
Once your foundation is applied, give it a few minutes to settle.
Some foundations slightly darken after sitting on the skin, a process known as oxidation. Letting your foundation set allows you to see the true finish before applying any additional products.
Common Beginner Mistakes to Avoid
Many issues with foundation come down to a few simple mistakes. Using too much product, skipping skin preparation, or not blending properly can all affect the final result. Another common mistake is testing foundation on your hand instead of your face, which often leads to choosing the wrong shade.
The Bottom Line
Learning how to apply foundation for beginners is about technique, not perfection. Start with less product, blend carefully, and build coverage only where you need it. When done right, your foundation shouldn’t look like makeup — it should look like your skin, just more even and refined.
It’s also important to remember that foundation will never look good if your skin isn’t properly prepared. Taking a few extra minutes to moisturise and let your skin settle before applying makeup can make a noticeable difference in how smooth and natural your foundation appears. The better your base, the less product you’ll need.
Your tools and technique will improve over time, so don’t worry if it doesn’t look perfect straight away. Focus on blending well, checking your makeup in natural light, and making small adjustments rather than trying to get everything right in one go. With practice, you’ll start to understand how your skin reacts to different formulas and what works best for you.
Most importantly, keep your approach simple. Using too many products or over-applying foundation often creates more problems than it solves. A light, well-blended base will always look better than a heavy one. As you get more comfortable, you can experiment with different finishes and coverage levels, but mastering the basics first will make everything else much easier.


4 Comments