3 Simple Foundation Tools That Make All the Difference
The tool you use to apply foundation can completely change how it looks on your skin. If your foundation ever looks streaky, patchy, or uneven, the problem isn’t always the product — it’s often the way it’s being applied.
Understanding the best tools for applying foundation makes a huge difference. With the right technique, even a simple foundation can look smooth, natural, and well-blended.
Why Your Foundation Tool Matters
Different tools create different finishes.
Some give a soft, natural look, while others provide more coverage or a more polished finish. The way foundation sits on your skin depends not only on the formula, but also on how it’s applied and blended.
If you’ve already learned how to apply foundation for beginners, choosing the right tool is the next step in improving your results.
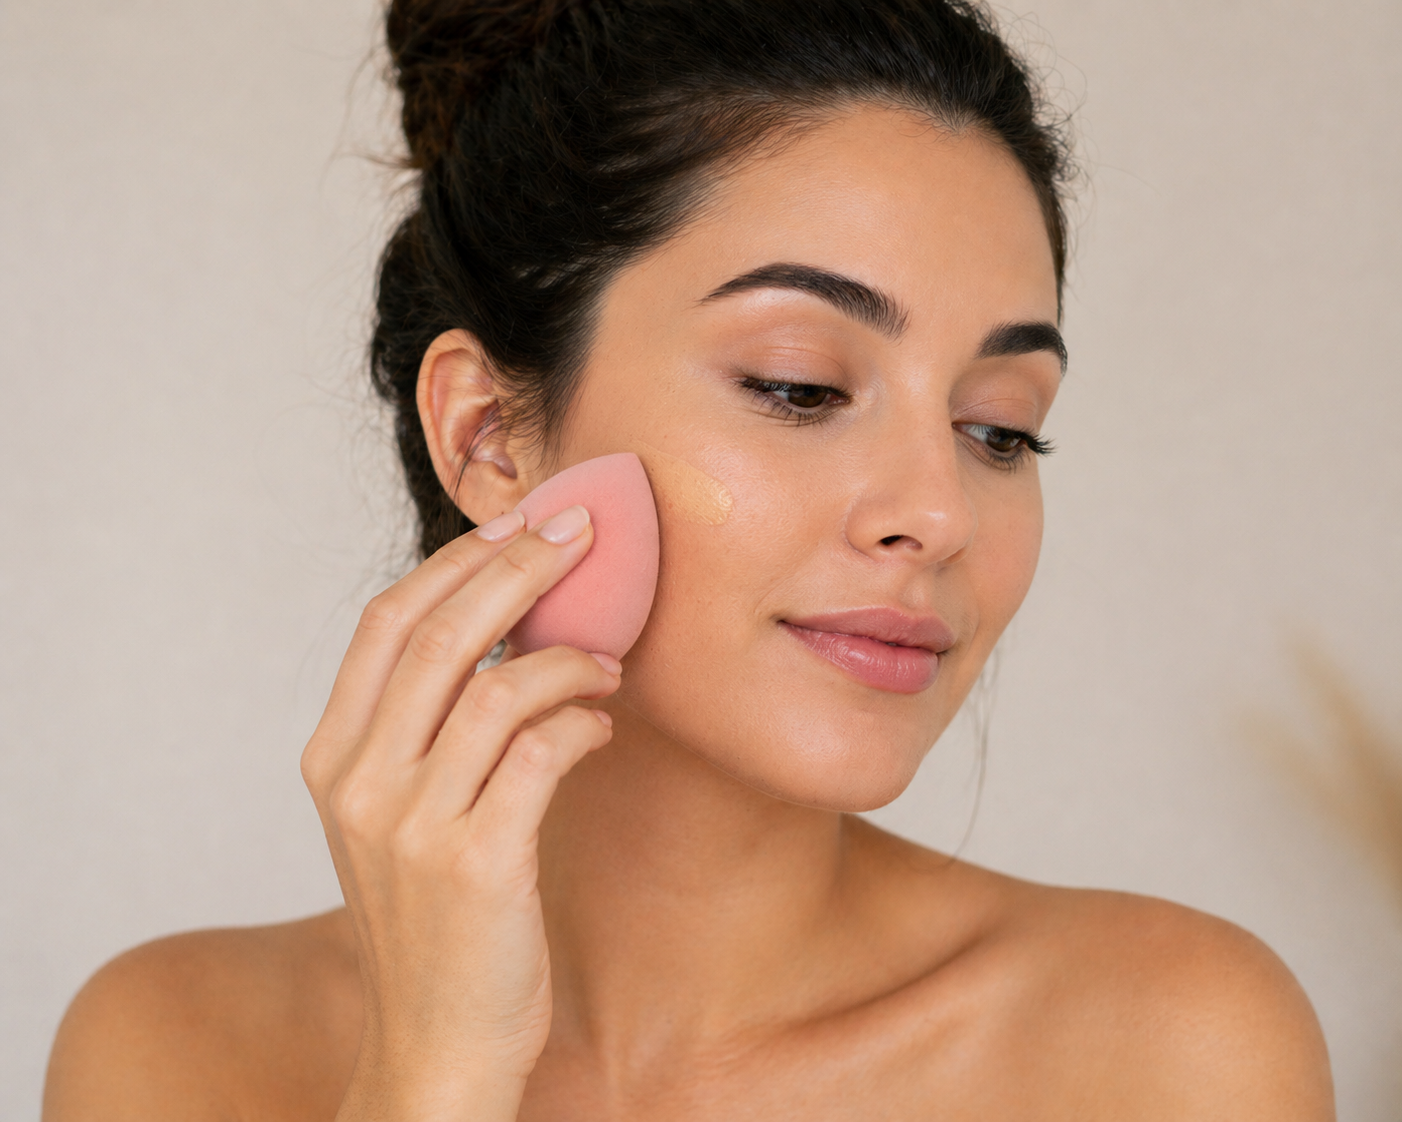
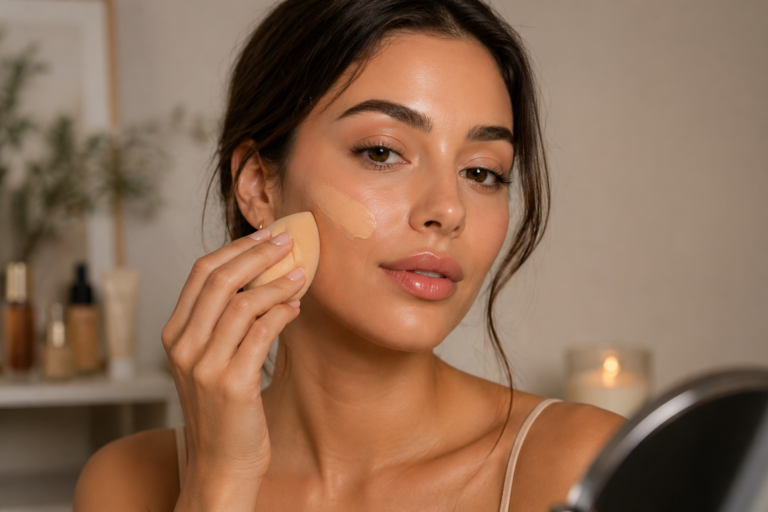
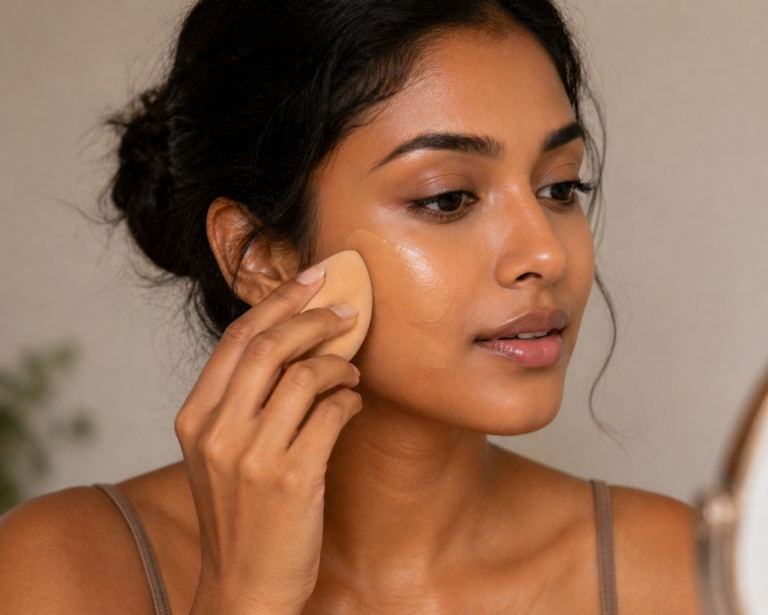
1. Makeup Sponge (Best for Natural, Skin-Like Finish)
A makeup sponge is one of the easiest tools to use, especially if you’re just starting out.
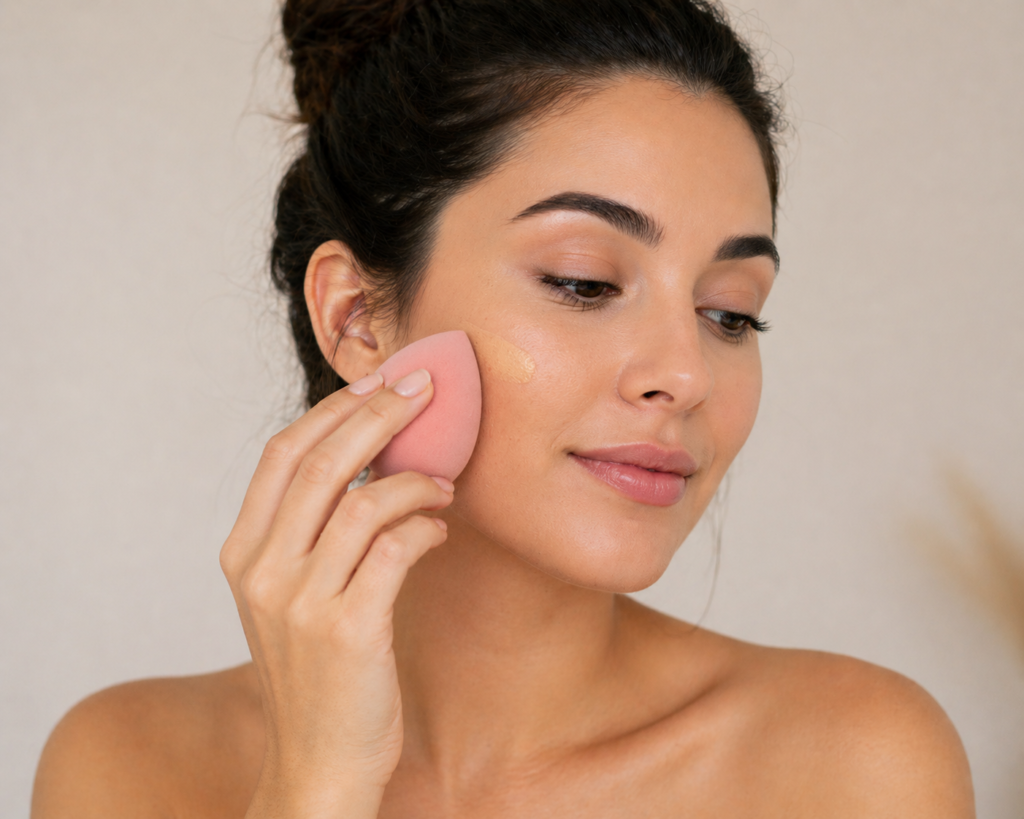
Before using it, run the sponge under water and squeeze out the excess and then squeeze it in a towel (special trick) so it’s slightly damp. This helps prevent the sponge from absorbing too much product and allows it to blend more evenly.
Start by placing one pump of foundation on the back of your hand or a makeup tray. Use the sponge to pick up a small amount, then gently dab it onto your skin. Focus on pressing the product into your face rather than dragging it across.
Work from the centre of your face outwards, using light tapping motions. This technique helps create a smooth, natural finish and avoids streaks. If you need more coverage, build it gradually by adding small amounts rather than applying too much at once.
2. Foundation Brushes (For More Coverage and Precision)
Foundation brushes come in different shapes, and each one gives a slightly different result depending on how you use it.
a. Flat Foundation Brush (Best for Full Coverage)
A flat foundation brush is designed to apply foundation in a more controlled, full-coverage way.
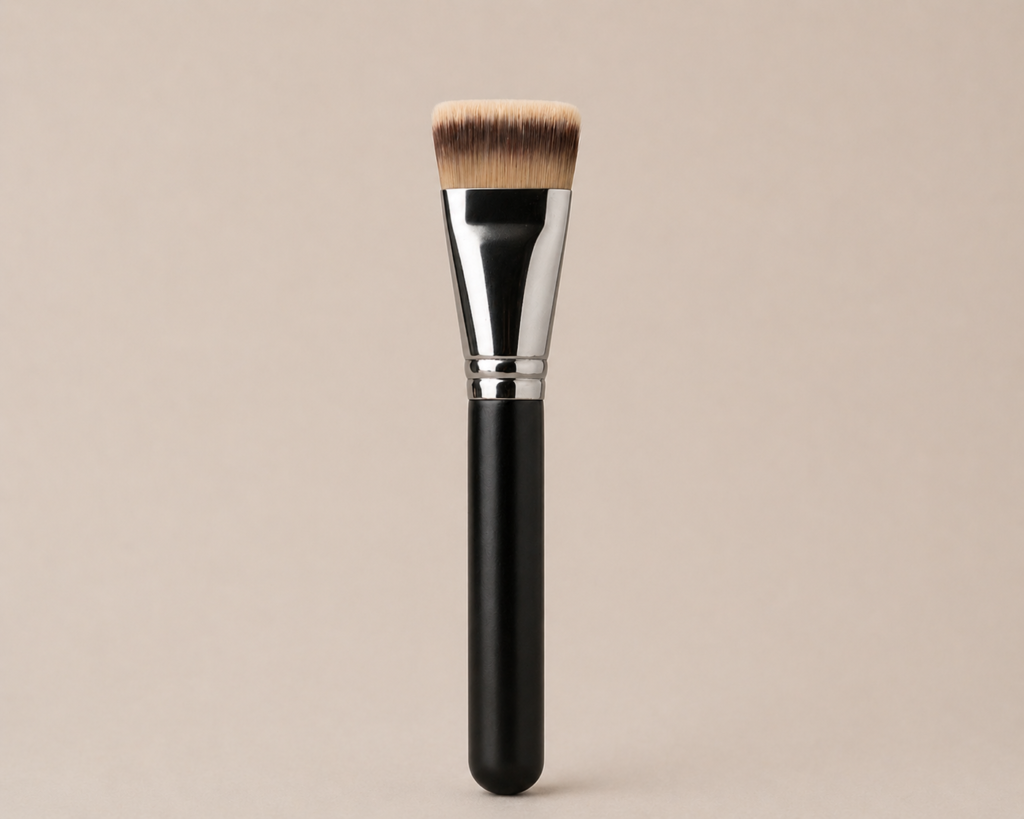
Start by placing a small amount of foundation on the back of your hand or tray. Lightly dip the tip of the brush into the product, then apply it to your face using gentle strokes. Begin at the centre and work outwards.
This brush spreads product quickly, but it can leave visible lines if not blended properly. To fix this, go back over your face with short, light strokes or tapping motions to smooth everything out.
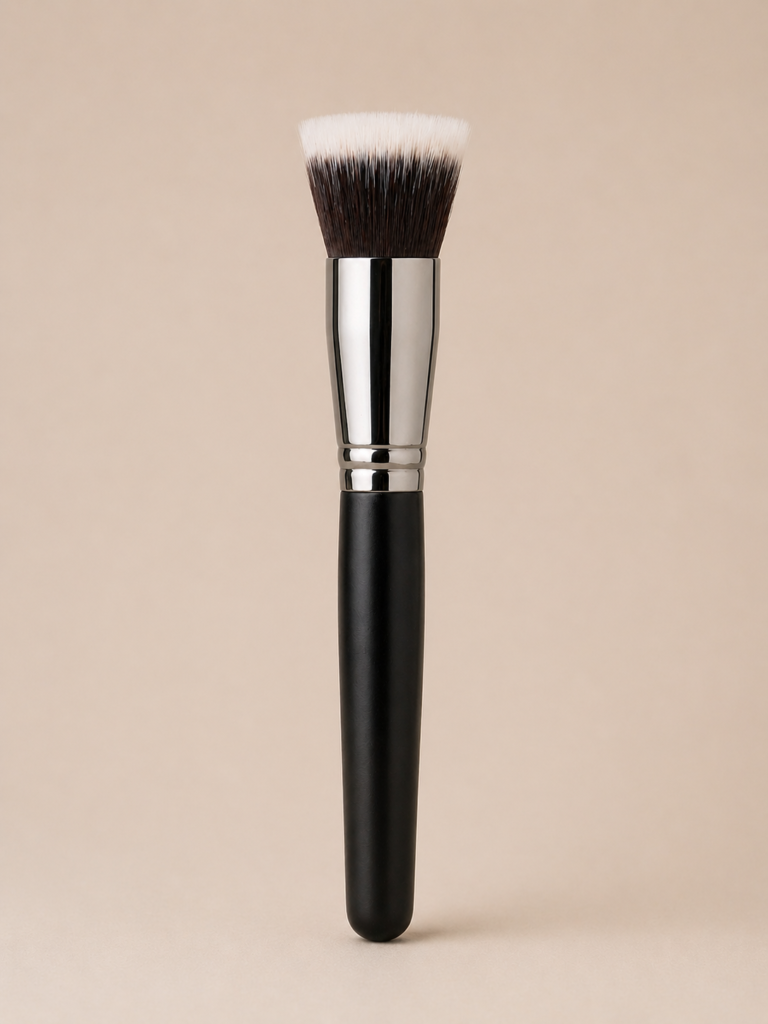
b. Buffing Brush (Best for Smooth, Even Finish)
A buffing brush is dense and rounded, making it one of the most effective tools for blending foundation evenly.
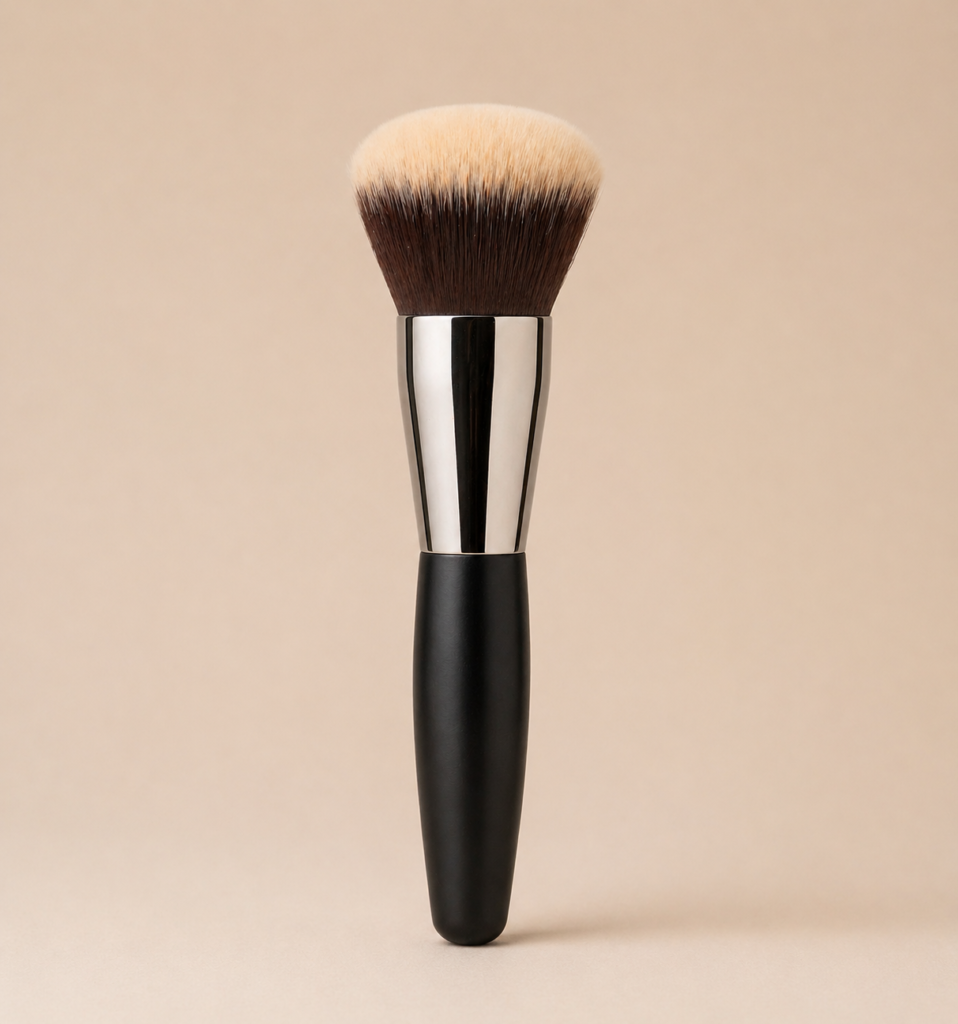
Place one pump of foundation on your hand, pick up a small amount with the brush, and apply it to your face. Use circular motions to work the product into your skin, starting from the centre and blending outwards.
This technique helps create a seamless, polished finish without streaks. It’s one of the most reliable options if you want your foundation to look even and well-blended.
c. Stippling Brush (Best for Light, Airbrushed Effect)
A stippling brush has two layers of bristles and is designed for a lighter, more diffused finish.
Apply a small amount of foundation to your hand, then lightly dip just the tips of the brush into the product. Instead of dragging the brush, use a tapping or bouncing motion to apply the foundation to your skin.
This method builds coverage gradually and gives a soft, airbrushed look. It’s a good option if you prefer a lighter finish or want more control over how much product you apply.
3. Fingers (Best for Quick, Natural Application)
Using your fingers is one of the simplest ways to apply foundation.
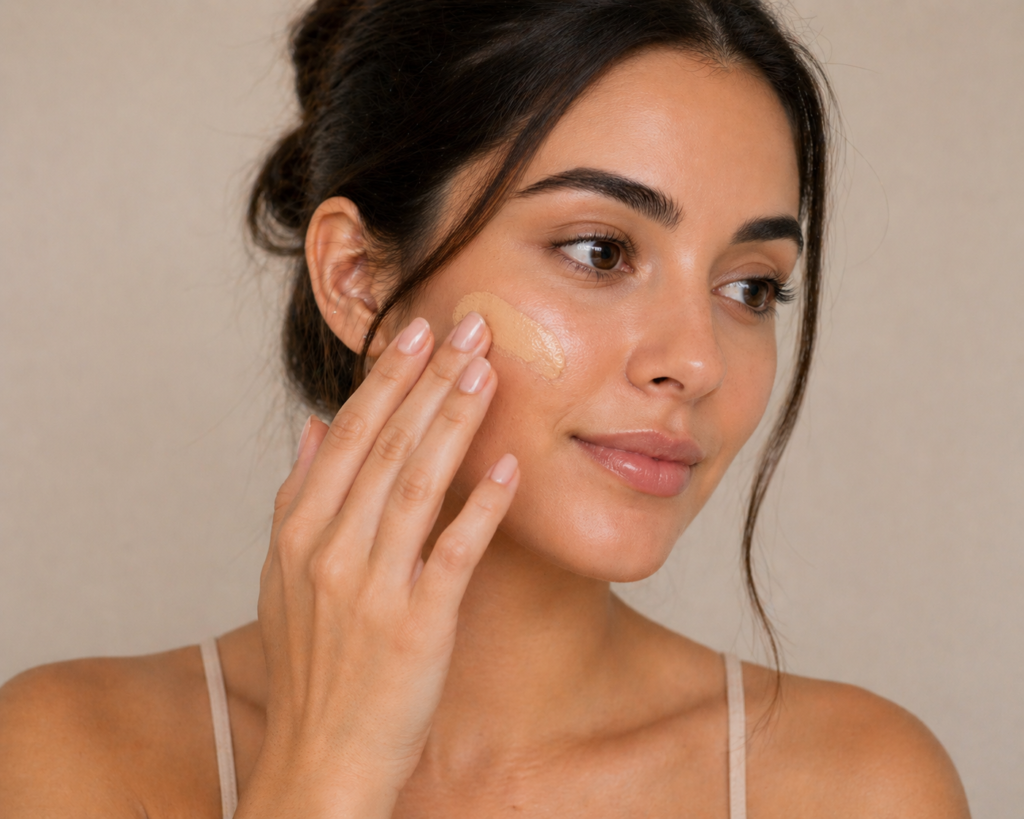
Start by placing a small amount of foundation on your hand, then use your fingertips to apply it directly to your face. Gently blend the product into your skin using light tapping or smoothing motions.
The warmth of your hands helps the foundation melt into your skin, creating a natural, skin-like finish. This method works best with lighter coverage foundations and is ideal for quick, everyday use.
While it may not give as much coverage as brushes, it’s a reliable option if you prefer a minimal look.
Choosing the Right Tool for Your Skin Type
Your skin type can influence which tool works best.
If you have dry skin, a damp sponge can help prevent foundation from clinging to dry patches. For oily skin, a brush may apply foundation more evenly without adding extra moisture. Combination skin usually works well with either, depending on the finish you prefer.
If you’re still figuring out which foundation suits your skin, our guide on best foundation for your skin type can help you choose the right base first.
Can You Combine Tools?
You don’t have to use just one tool.
Many people apply foundation with a brush for coverage and then go over it with a sponge to smooth everything out. This helps create a more natural finish while still keeping good coverage.
Combining tools can give you more control over both coverage and texture.
Common Mistakes to Avoid
Using too much product is one of the most common mistakes. It doesn’t improve coverage — it usually makes foundation look heavier and harder to blend.
Another issue is not cleaning your tools regularly. Dirty brushes and sponges can affect how foundation applies and may lead to uneven results. Keeping your tools clean helps maintain both your makeup and your skin.
The Bottom Line
The best tools for applying foundation depend on the finish you want and how comfortable you are using them. A sponge gives a soft, natural look, brushes provide more coverage and control, and fingers offer a quick and simple option.
There isn’t one perfect tool — it’s about finding what works for your skin and your routine. As you get more comfortable, you can experiment with different methods and combinations to see what gives you the best results.
Healthy skin also plays a role in how foundation applies, and the American Academy of Dermatology</a> highlights how proper skin care supports a smoother, more even appearance.
Once you understand both the tools and the technique, applying foundation becomes much easier, and your makeup will start to look more natural and consistent.


One Comment